Innenfilter
Innenfilter für kleine Becken, Quarantäne und Jungfische — Schwamm- und Kammermodelle, Strömungseinstellung, Wartung und wann ein Umstieg auf Außen- oder Rucksackfilter lohnt.
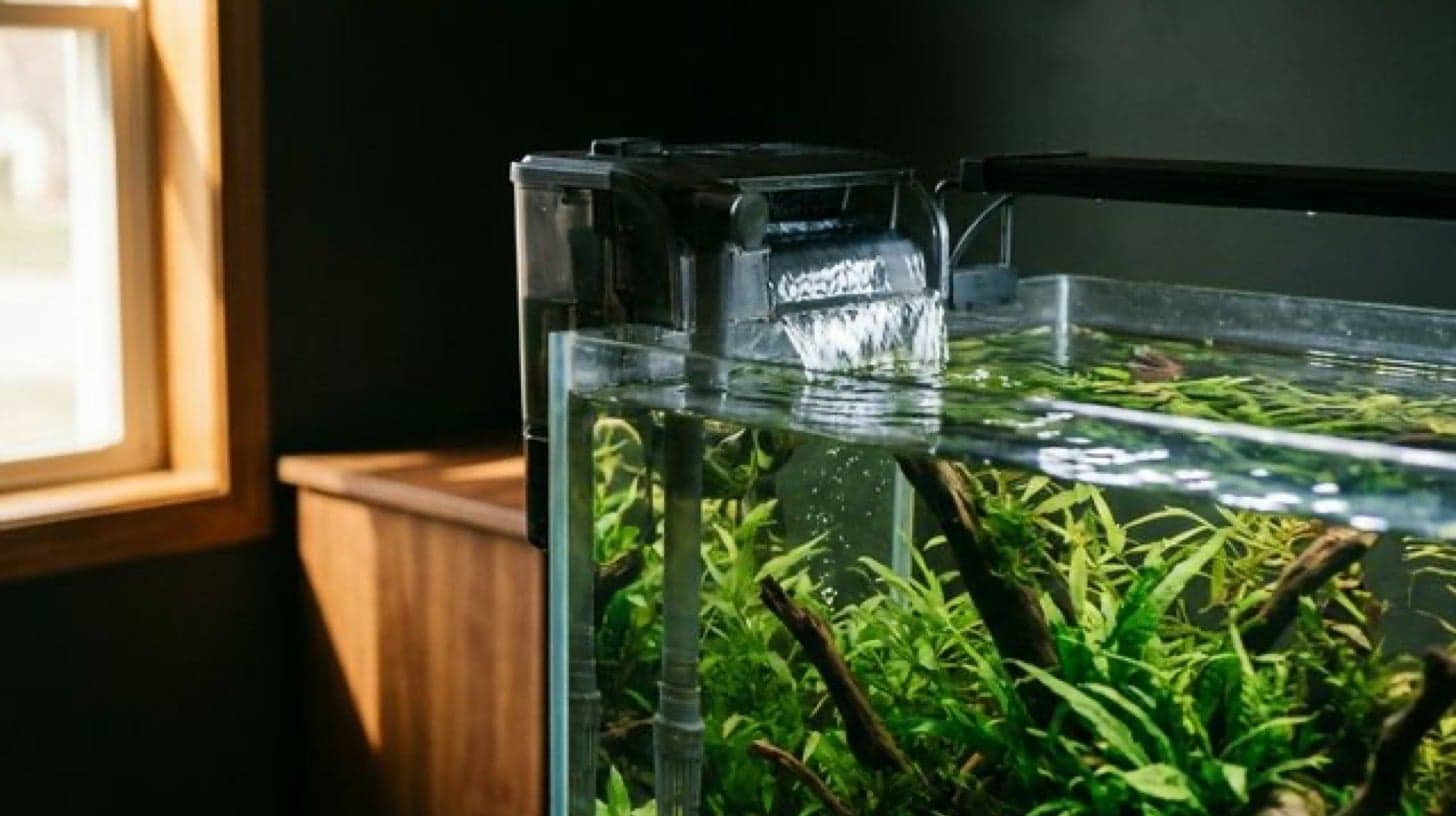
Innenfilter
Ein Innenfilter sitzt im Aquarium und wird von einem getauchten Motor angetrieben. Er ist die Standardwahl für kleine Becken, Quarantäne, Krankenbecken und Zuchtansätze, bei denen eine externe Verrohrung unpraktisch ist.
So funktioniert er
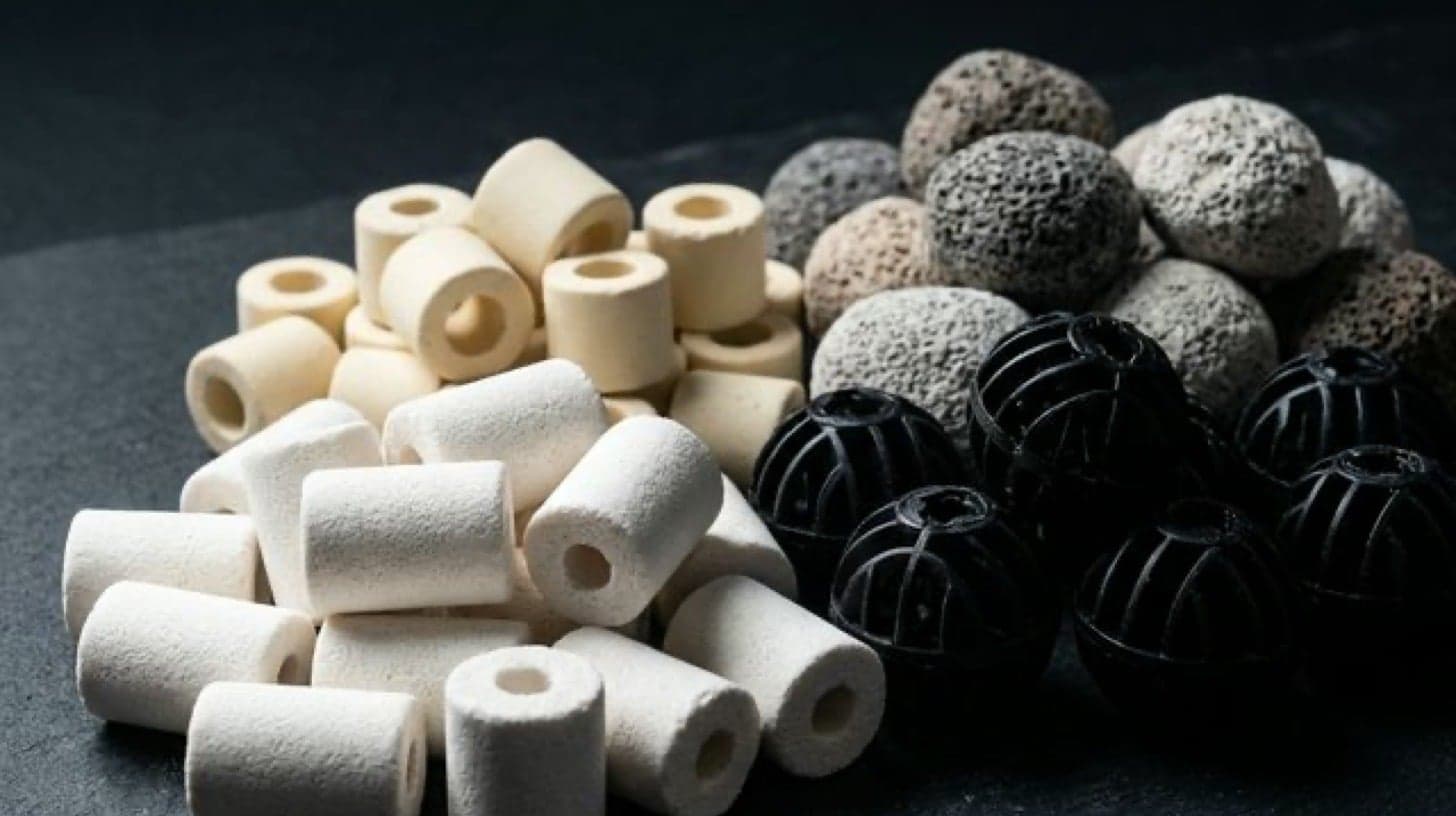
Eine Pumpe zieht Wasser durch einen mechanischen Schwamm (manchmal zusätzlich Kohle oder Keramik) und gibt es über eine Auslassdüse zurück. Die meisten Modelle haben eine Luft-Venturidüse, die für Oberflächenbewegung und damit für Sauerstoffeintrag sorgt.
Ansaugung am Schwamm ──► Pumpe ──► Auslassdüse ──► Becken
       │
       └── optionale Kohle- / Keramikkammer
Bauformen
| Bauform | Merkmale | Am besten für |
|---|---|---|
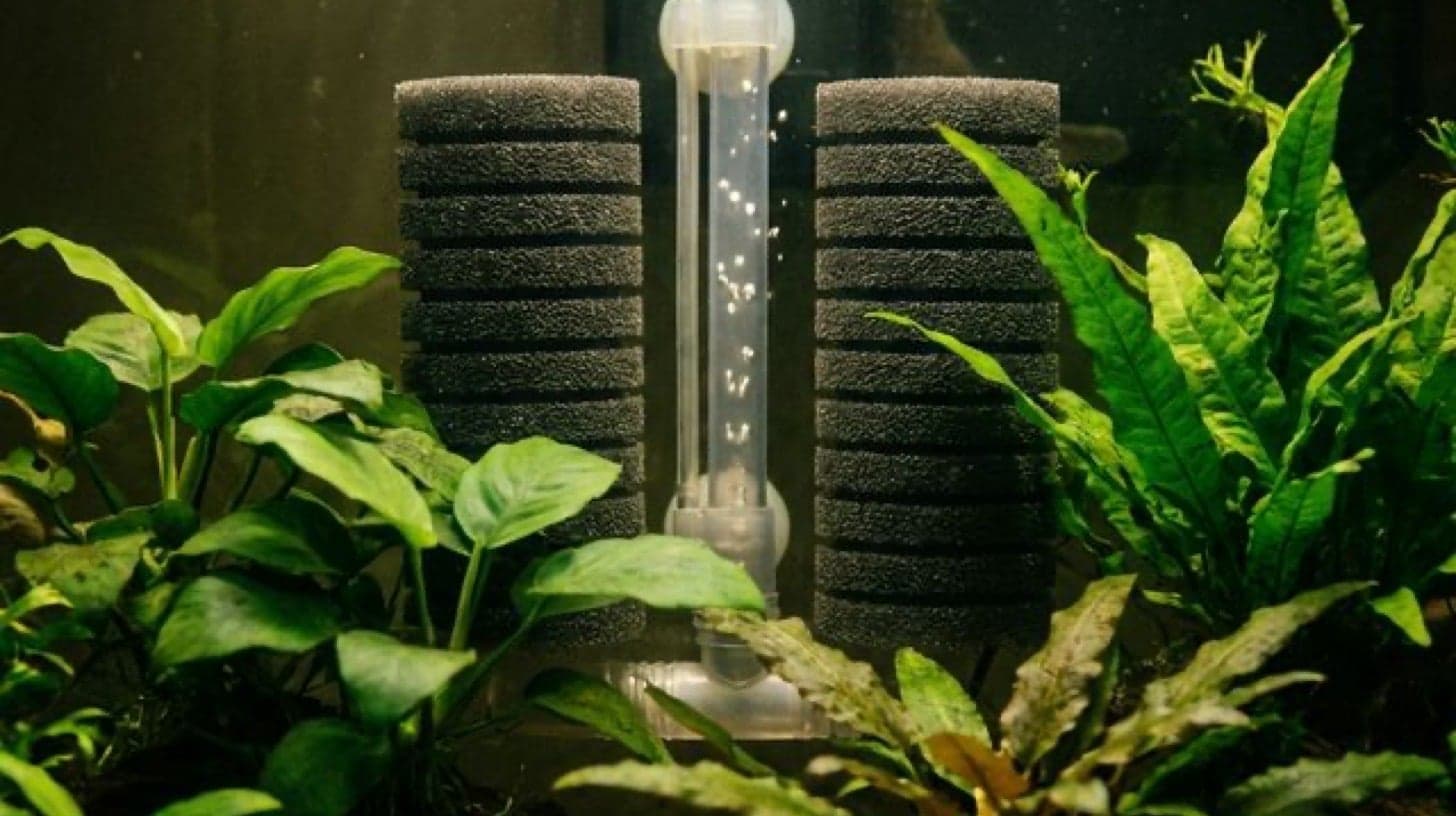
| Schwammfilter + Strömungspumpe | Sanft, sicher für Jungfische | Zucht, Garnelen |
| Kammer-Innenfilter | Schwamm + Kohle + Keramik | Nanobecken allgemein |
| Innenfilter im Topfstil | Mehr Medienvolumen | 60–150-l-Becken ohne Unterschrank |
| Eckfilter | Unauffällige Platzierung | Optisch anspruchsvolle Nanobecken |
Auslegung
Ziel sind 4–6× Beckenumwälzung pro Stunde bei empfindlichen Arten; bis 8× bei Goldfischen oder hoher Bioload.
| Beckenvolumen | Typische Innenfilterleistung |
|---|---|
| 10–20 l | 100–200 l/h |
| 30–60 l | 300–500 l/h |
| 80–120 l | 600–800 l/h (oder Umstieg auf Rucksack-/Außenfilter) |
Oberhalb von ~120 l bieten ein Rucksackfilter oder ein Außenfilter meist mehr Medienvolumen und einfachere Wartung.
Vorteile für besondere Einsätze
- Quarantäne / Krankenbecken — eigener Filter, mit Filtermedien aus dem Hauptbecken angeimpft; Kohle während der Medikation entfernen
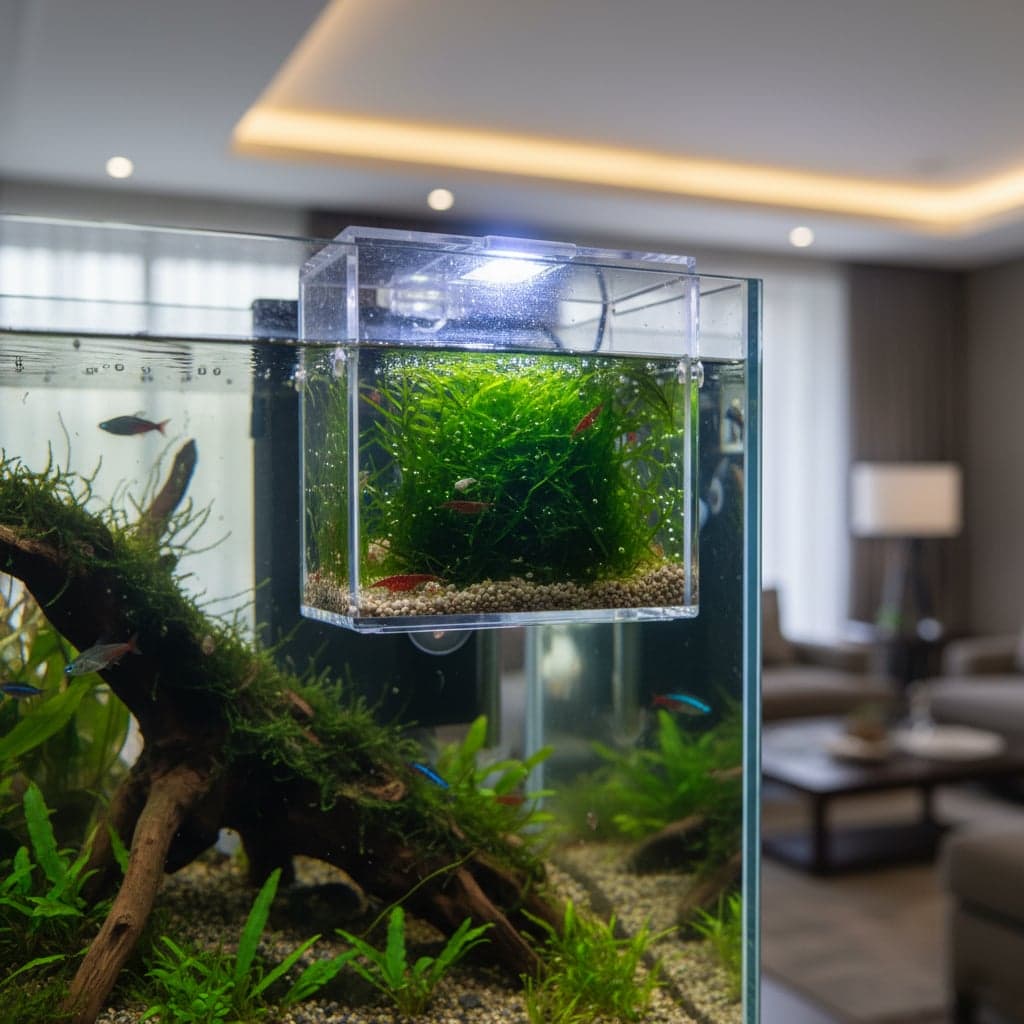
- Jungfische und Garnelen — Schwamm-Vorfilter verhindern, dass die Ansaugung Nachwuchs einzieht
- Reservefilterung — einen Innenfilter bereithalten, falls der Hauptfilter ausfällt
- Kein Überlaufrisiko — anders als beim Sump; für Einsteiger unkompliziert
Strömung und Platzierung
- Auslass ausrichten — entlang der Scheibe, um die Strömung für Bettas und Guramis zu dämpfen
- Auslass anheben — Oberflächenbewegung verbessert den Gasaustausch
- Nie im Bodengrund vergraben — die Ansaugung muss frei bleiben
- Mehrere kleine Filter — bei langen Becken oft besser als ein überdimensioniertes Gerät
Wartung
- Schwamm wöchentlich ausspülen — im abgelassenen Beckenwasser, niemals unter dem Wasserhahn
- Kohle monatlich wechseln, falls verwendet (bei Medikation und Pflanzendüngung entfernen)
- Impeller reinigen — alle 2–3 Monate; ein Leistungsabfall liegt meist am verschmutzten Impeller
- Nach Antibiotika neu animpfen — die nützlichen Bakterien können geschädigt sein; siehe Übersicht Fischkrankheiten
Innenfilter im Vergleich
| Merkmal | Innen | Rucksack | Außen |
|---|---|---|---|
| Medienvolumen | Gering–mittel | Mittel | Hoch |
| Einbau | Am einfachsten | Einfach | Mittel |
| Im Becken sichtbar | Ja | Kaum | Verborgen |
| Kosten | Am geringsten | Gering–mittel | Höher |
| Passende Beckengröße | < 120 l | < 200 l | Beliebig |
Vor- und Nachteile
Vorteile
- Günstig und sofort einsatzbereit
- Ideal für Quarantäne, Krankenbecken und Nanobecken
- Keine externe Verrohrung, kein Überlauf
- Sanfte Varianten für Jungfische und Garnelen
Zu bedenken
- Nimmt Platz im Sichtbereich ein
- Weniger Medienvolumen als Außenfilter
- In kleinen Volumen regelmäßige Reinigung nötig
- Große Modelle wirken im Aquascape klobig
Häufige Fragen
Innen- oder Außenfilter?
Innenfilter passen zu kleineren Becken, Quarantäne- und Krankenbecken sowie überall dort, wo ein Außenfilter unpraktisch ist. Außenfilter fassen mehr Medien, sind leichter zu warten und halten den Sichtbereich frei. Unter rund 60 Litern macht der Unterschied wenig aus; darüber ist die Außenfilterung meist die bessere Investition.
Wie oft sollte ich die Medien reinigen?
Wenn die Leistung spürbar nachlässt, nicht nach festem Kalender. Mechanische Medien im abgelassenen Beckenwasser ausspülen, nie unter dem Hahn — Chlor tötet die Bakterienkolonie. Biologische Medien so wenig wie möglich stören.
Warum ist mein Becken nach der Filterreinigung eingebrochen?
Fast sicher wurden die Medien unter dem Wasserhahn gespült oder zu viel auf einmal ersetzt. Die nitrifizierenden Bakterien leben auf diesen Medien, und Chlor tötet sie bei Kontakt. Medien in Etappen mit Wochen Abstand erneuern, damit die verbliebene Kolonie das neue Material besiedeln kann.