Aquascaping for Beginners: A Step-by-Step System (Low-Tech + High-Tech Paths)
A clear roadmap to start aquascaping—choose a low-tech or high-tech path, follow the steps in order, and avoid the most common beginner mistakes.
Aquascaping for beginners can feel overwhelming: tanks, substrate, hardscape, plants, lighting, CO2, and maintenance all at once. The good news is you don’t have to do everything. This guide gives you a single system with two paths—low-tech and high-tech—so you can choose your level and follow clear steps in order. Whether you want a simple planted tank or a full CO2 setup, the same principles apply: plan the layout, build the foundation, add plants, then tune and maintain. By the end you’ll know exactly what to do first and what to avoid.
In short: Start by choosing low-tech (no CO2, easier plants) or high-tech (CO2, more light, faster growth). Then follow: tank and placement → substrate → hardscape → plants → lighting schedule → optional CO2 and ferts → maintenance routine. Most beginners succeed faster on the low-tech path and add tech later.
Choose Your Path: Low-Tech vs High-Tech
Your first decision is whether to go low-tech or high-tech. Both are valid; the difference is complexity and growth speed.
- Low-tech: No injected CO2, moderate lighting, hardy plants (Java Fern, Anubias, many stem plants). Slower growth, fewer algae spikes, lower cost and less daily attention. Ideal if you want to learn the basics without a lot of gear.
- High-tech: Pressurized CO2, stronger lighting, liquid fertilisers, and often more demanding plants (carpets, red plants). Faster growth and more control, but more equipment and a stricter routine. Best if you're ready to commit to a schedule and want dramatic results sooner.
You can start low-tech and add CO2 and better lights later; many aquascapers do. The steps below are the same for both paths—only the equipment and plant list change.
Step 1: Tank, Stand, and Placement
Choose a tank size you can maintain. A 60–100 litre (15–25 gallon) tank is a sweet spot: big enough to stay stable, small enough to manage. Place it on a solid stand, away from direct sunlight and drafts. Ensure power and (for high-tech) CO2 access. Fill and leak-test before adding anything else.
Step 2: Substrate
Substrate feeds roots and anchors plants. For planted tanks you have two main options:
- Aquasoil or nutrient-rich substrate: Best for heavy planting and long-term nutrient supply. Rinse lightly if dusty; avoid washing until it’s mud. Cap with a thin sand layer only if you want a specific look—many beginners skip the cap.
- Inert substrate (sand or gravel) with root tabs: Cheaper and simpler. You’ll rely on root tabs and liquid fertiliser for nutrients. Fine for beginner-friendly plants and low-tech setups.
Slope the substrate slightly from back to front (e.g. 1–2 cm) to add depth. For a full comparison of the best substrate for planted aquariums, see our substrate guide: aquasoil vs inert + root tabs; for equipment, see hardware and equipment.
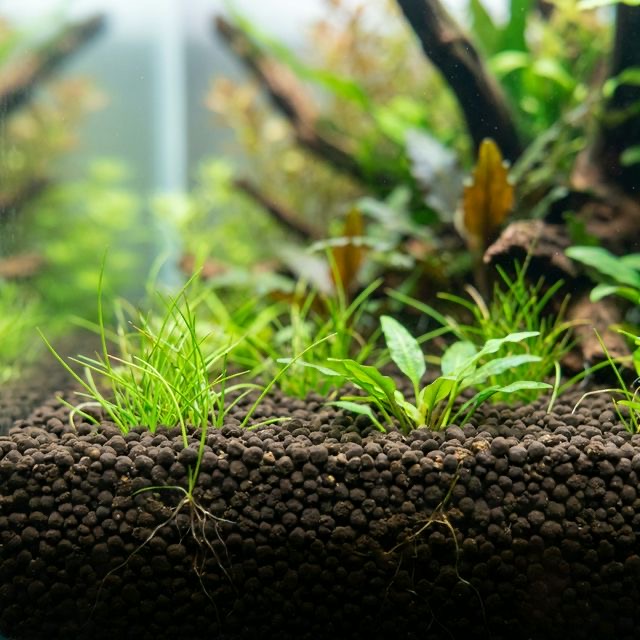 Aquasoil and nutrient substrate for planted tanks
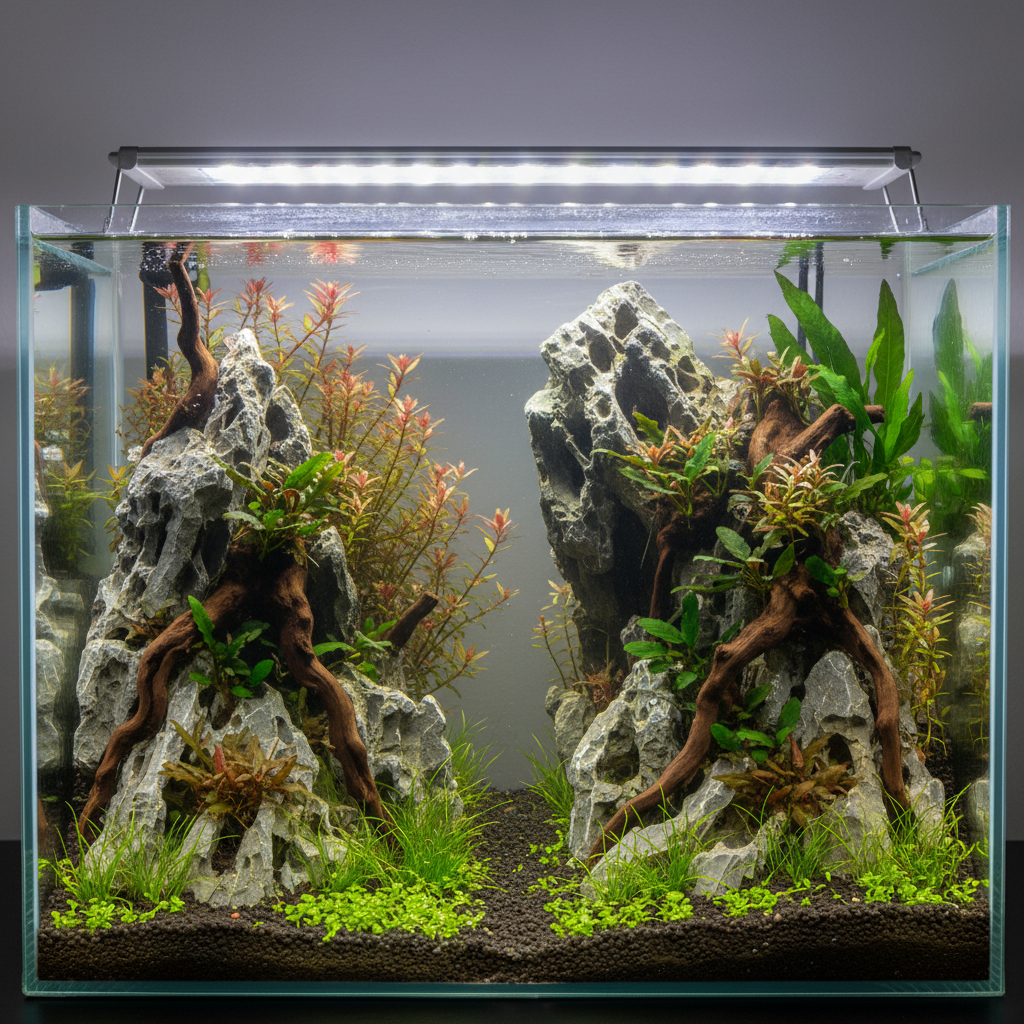
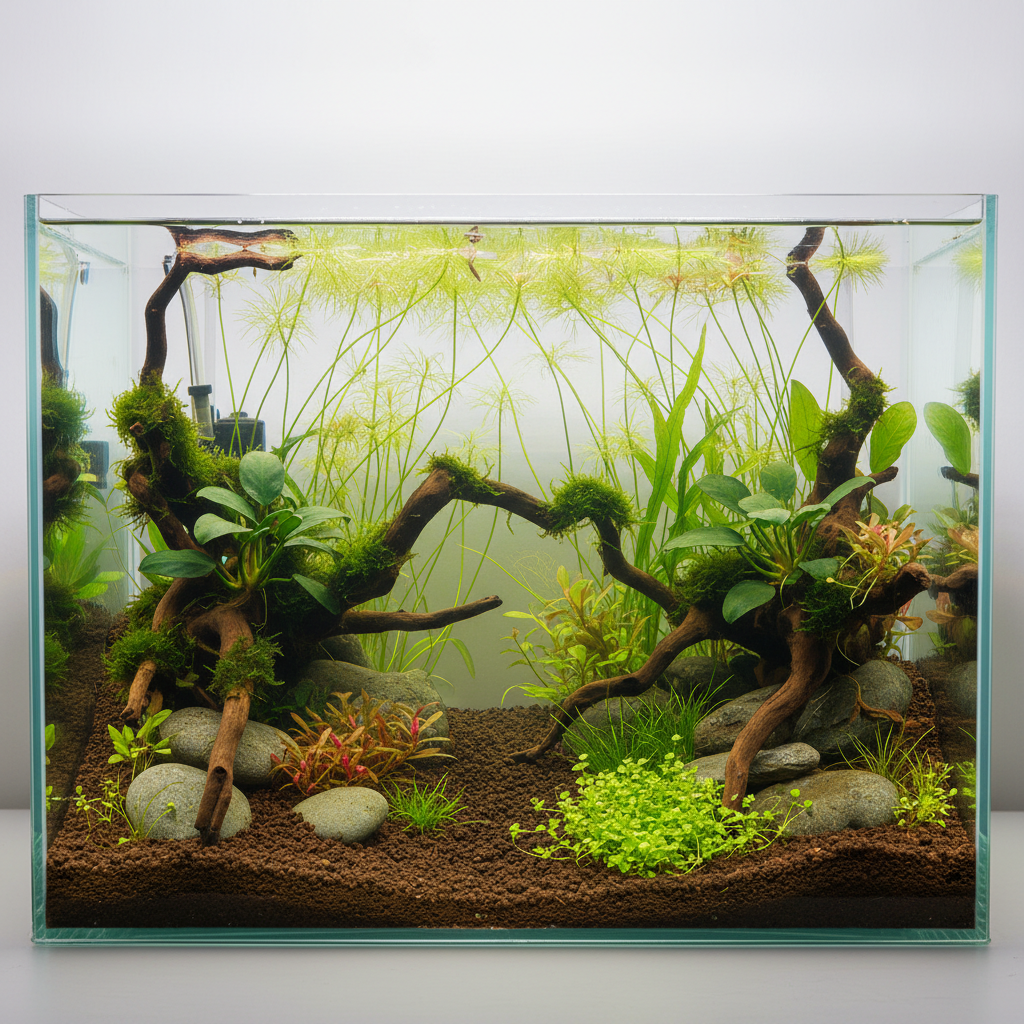
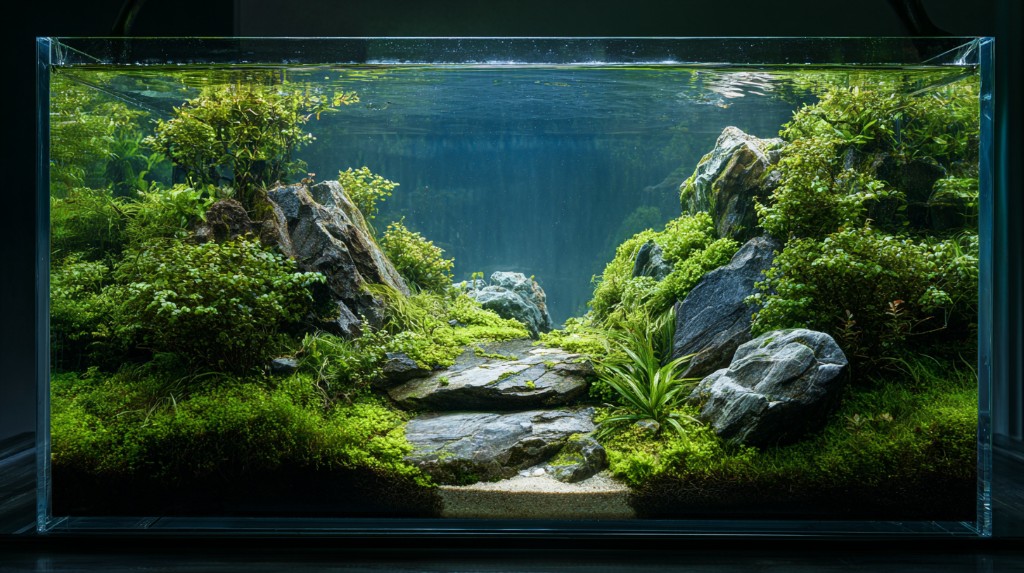
Step 3: Hardscape (Rocks and Wood)
Hardscape defines the layout. Place the largest piece first as a focal point, then add supporting rocks or driftwood. Leave open areas for plants and swimming space. Common styles—Iwagumi, Nature Aquarium, Dutch—differ in how much hardscape they use; beginners often do well with one strong focal point and simple groupings. Rinse rocks and wood to remove dust and tannins. Soak wood until it sinks or weight it down. For material choices and layout ideas, browse hardscaping guides.
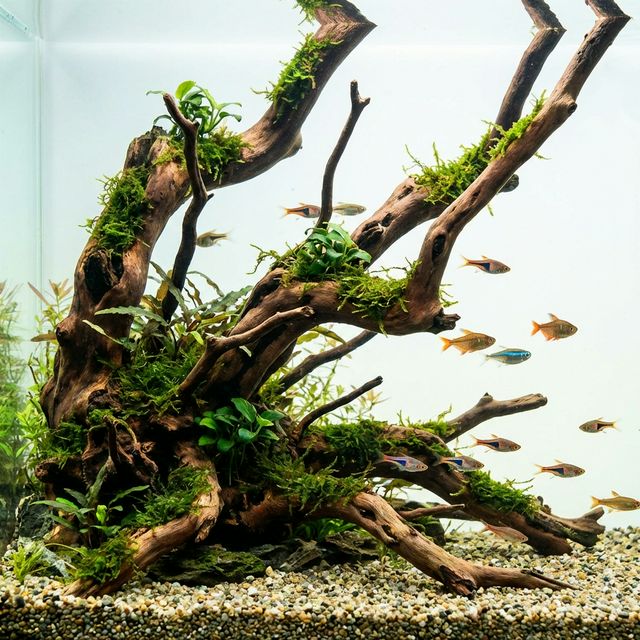 Driftwood and rock hardscape in an aquascape
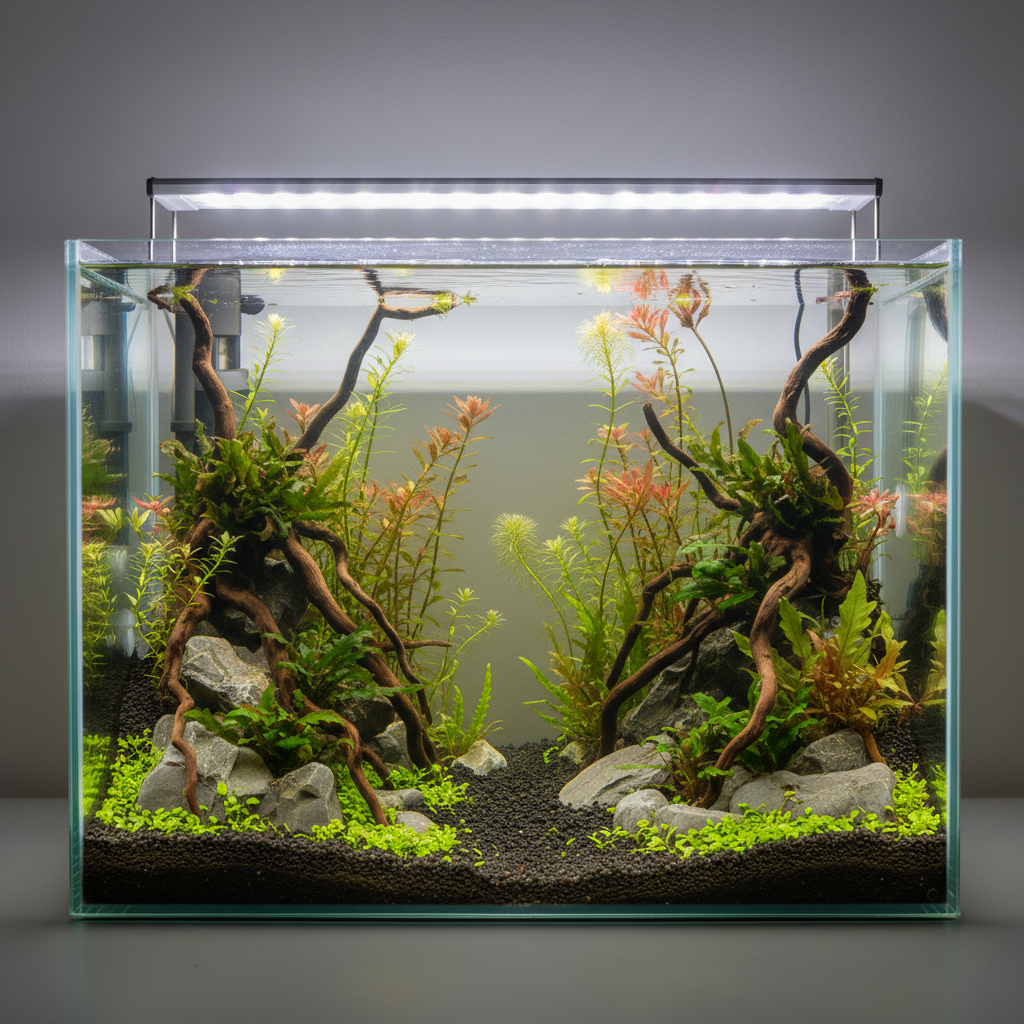
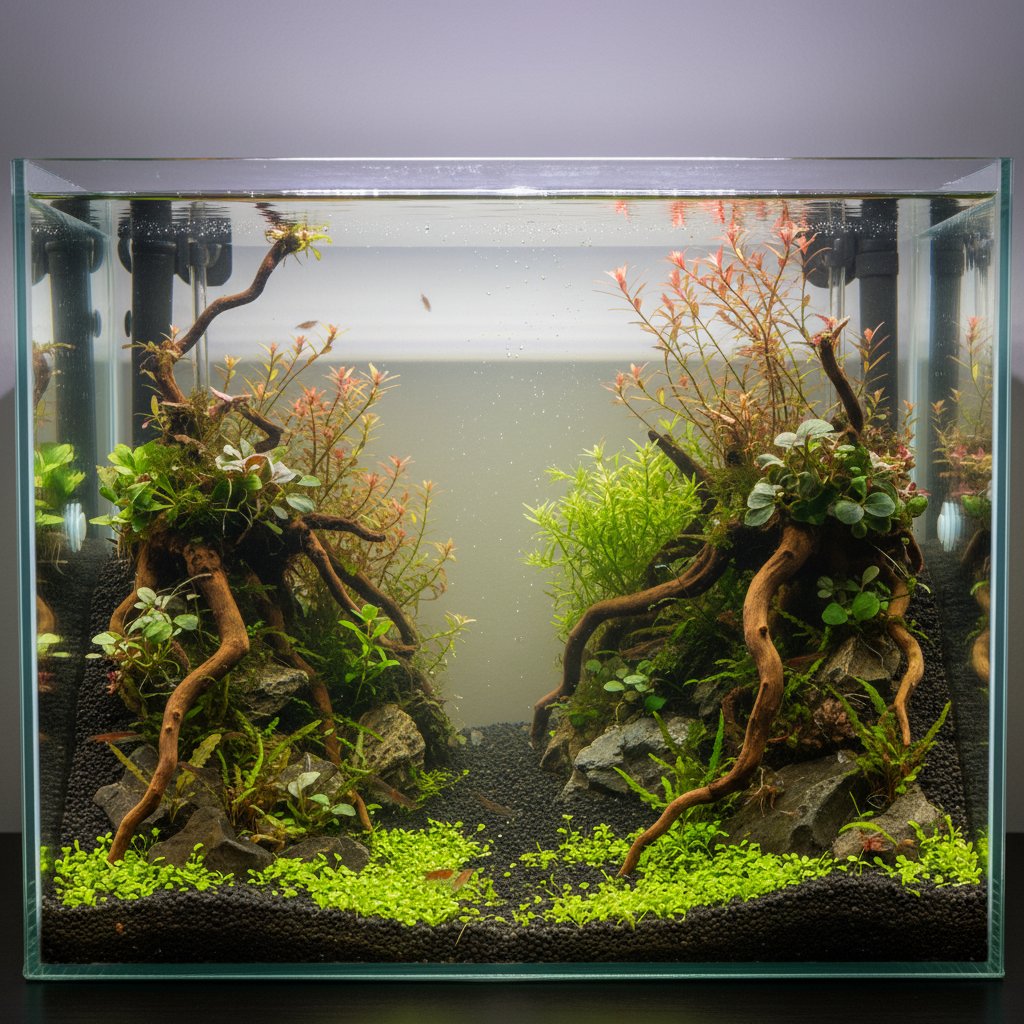
Step 4: Planting
Add plants after hardscape and before filling the tank fully (or fill and plant with long tweezers). Start with easy species: Java Fern, Anubias, Cryptocoryne, and hardy stems like Rotala. For carpets, Monte Carlo and Dwarf Hairgrass need more light and often CO2. Plant in small groups, leave space between stems so they can bush out, and attach epiphytes (Java Fern, Anubias) to rock or wood with thread or gel. Our plant care section covers species and requirements.
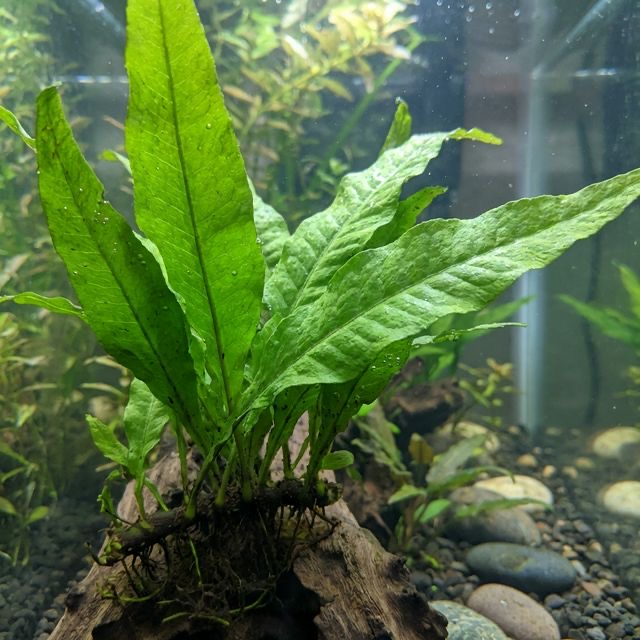 Java Fern attached to driftwood—a classic beginner plant
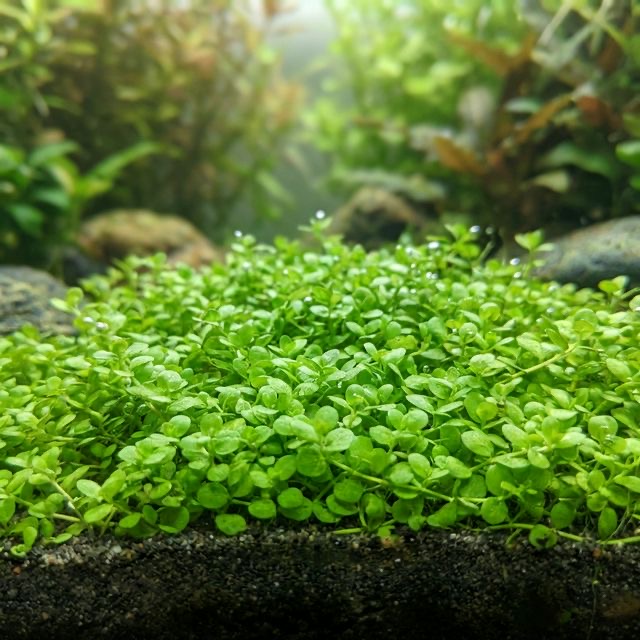 Monte Carlo carpet plant for foreground
Step 5: Fill, Cycle, and Light Schedule
Fill the tank with dechlorinated water, avoiding strong flow onto the substrate. Cycle the tank (fishless or with a light bioload) until ammonia and nitrite are zero. Set a consistent photoperiod: 6–7 hours for low-tech, 7–8 for high-tech. Use a timer. Avoid long or irregular lighting—it encourages algae.
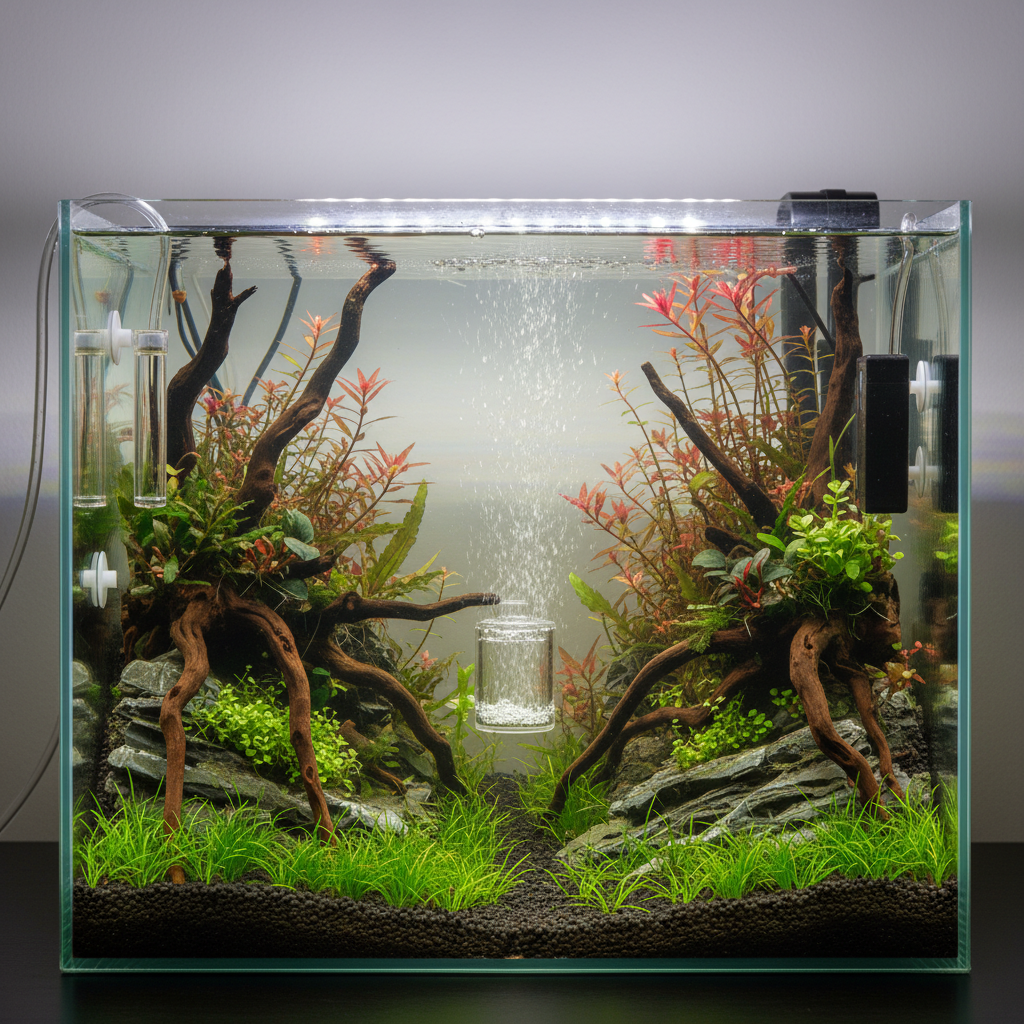
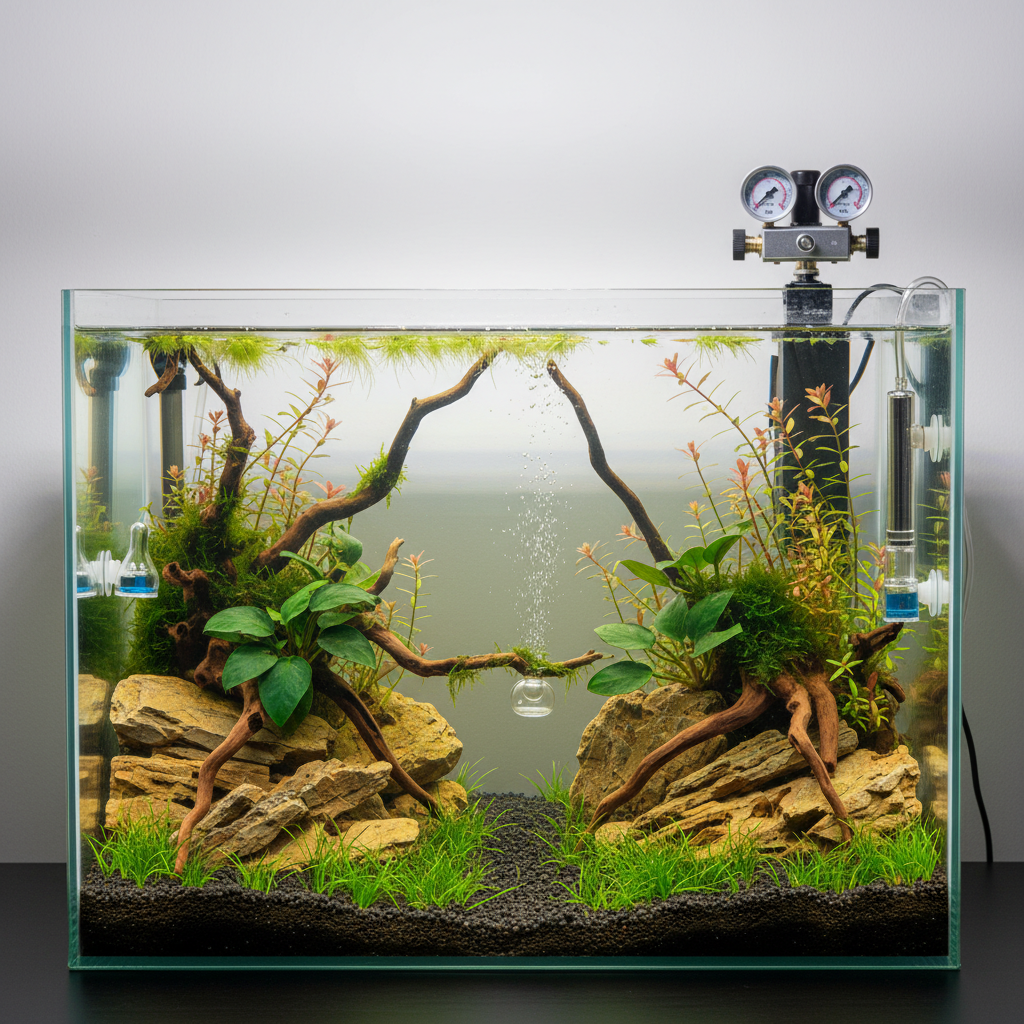
Step 6: CO2 and Fertiliser (High-Tech Path)
If you chose high-tech, add CO2 and fertiliser only after the tank is cycled and plants are in. Set CO2 so the drop checker is green by the time lights come on. Start with a low dose and increase gradually. Use a complete liquid fertiliser according to the label or an EI-style schedule. Match CO2, light, and nutrients; imbalance is a common cause of algae.
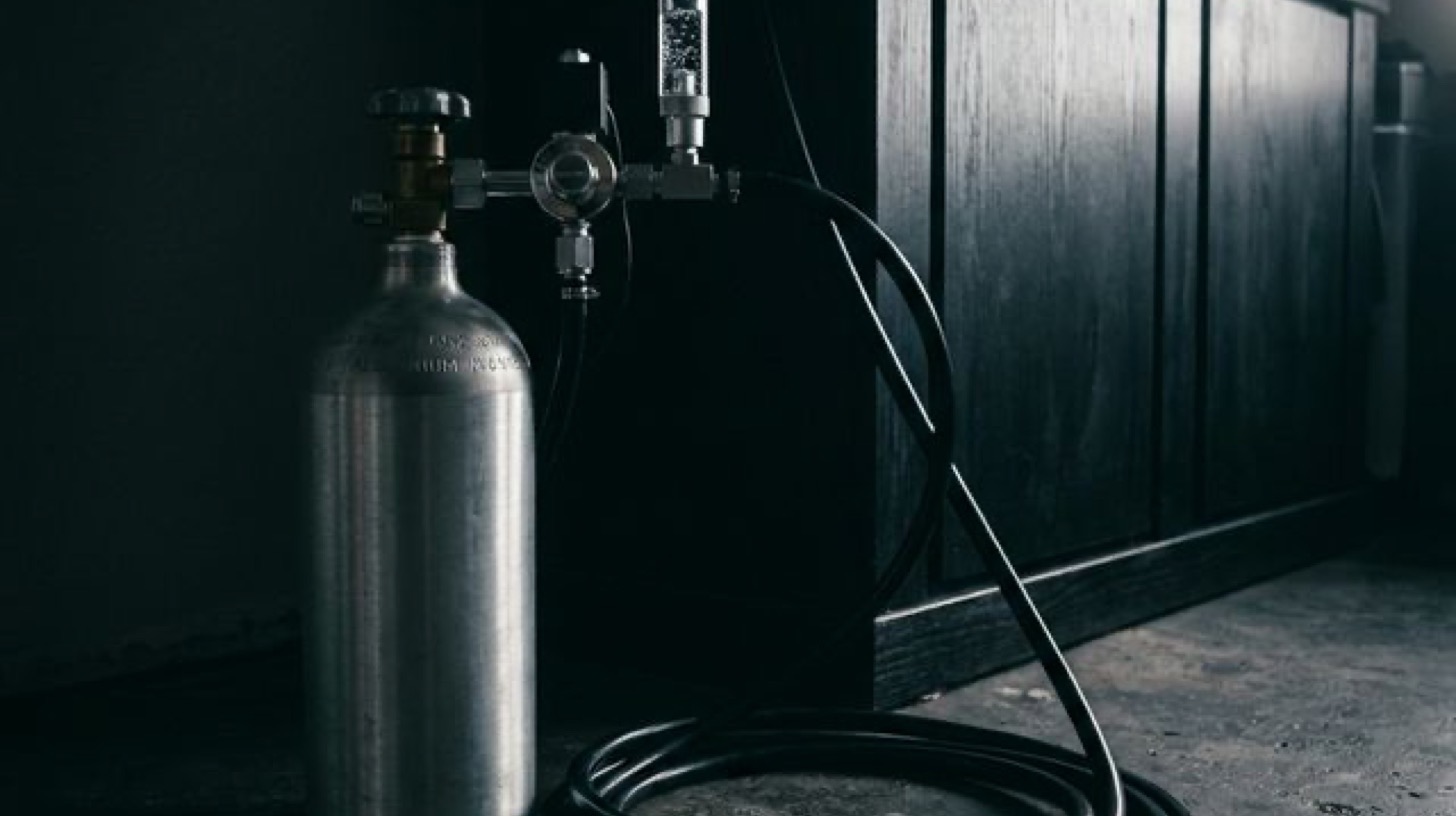 Pressurized CO2 system for planted aquariums
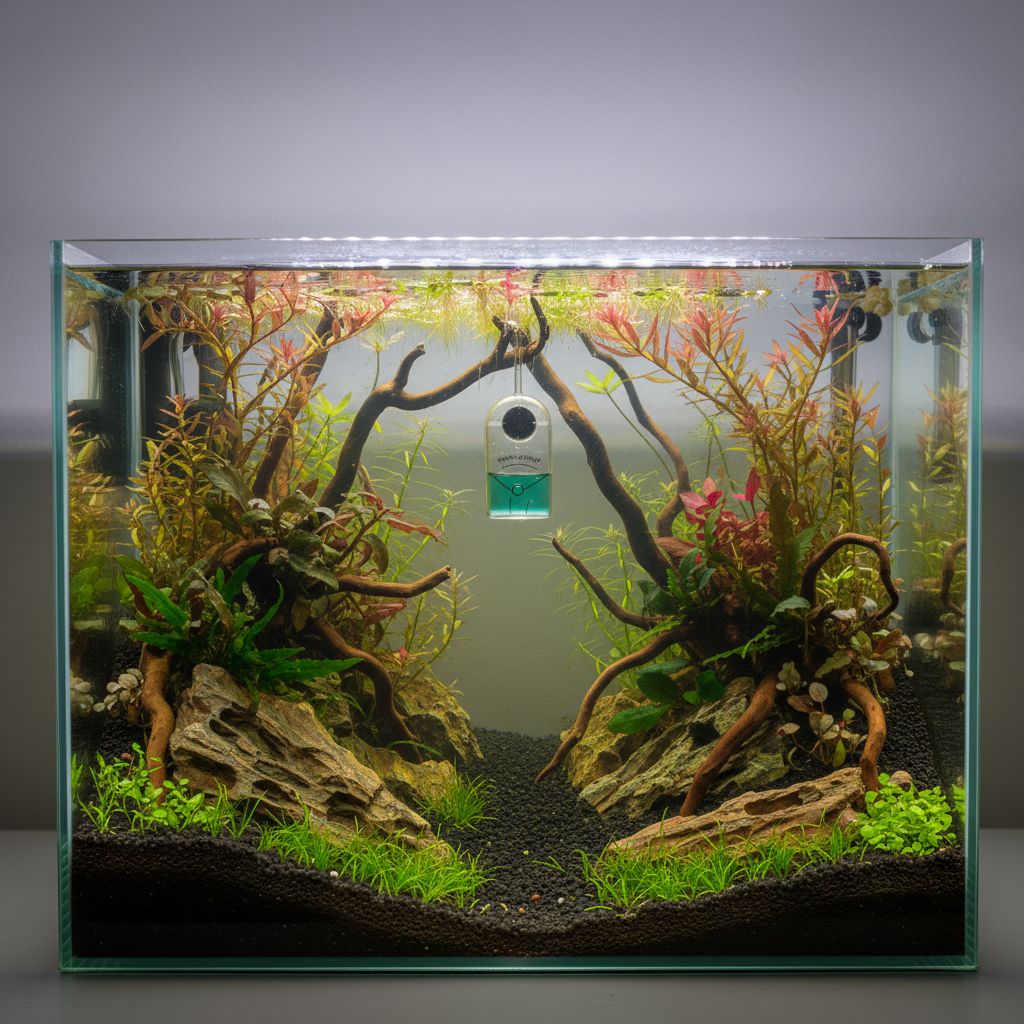
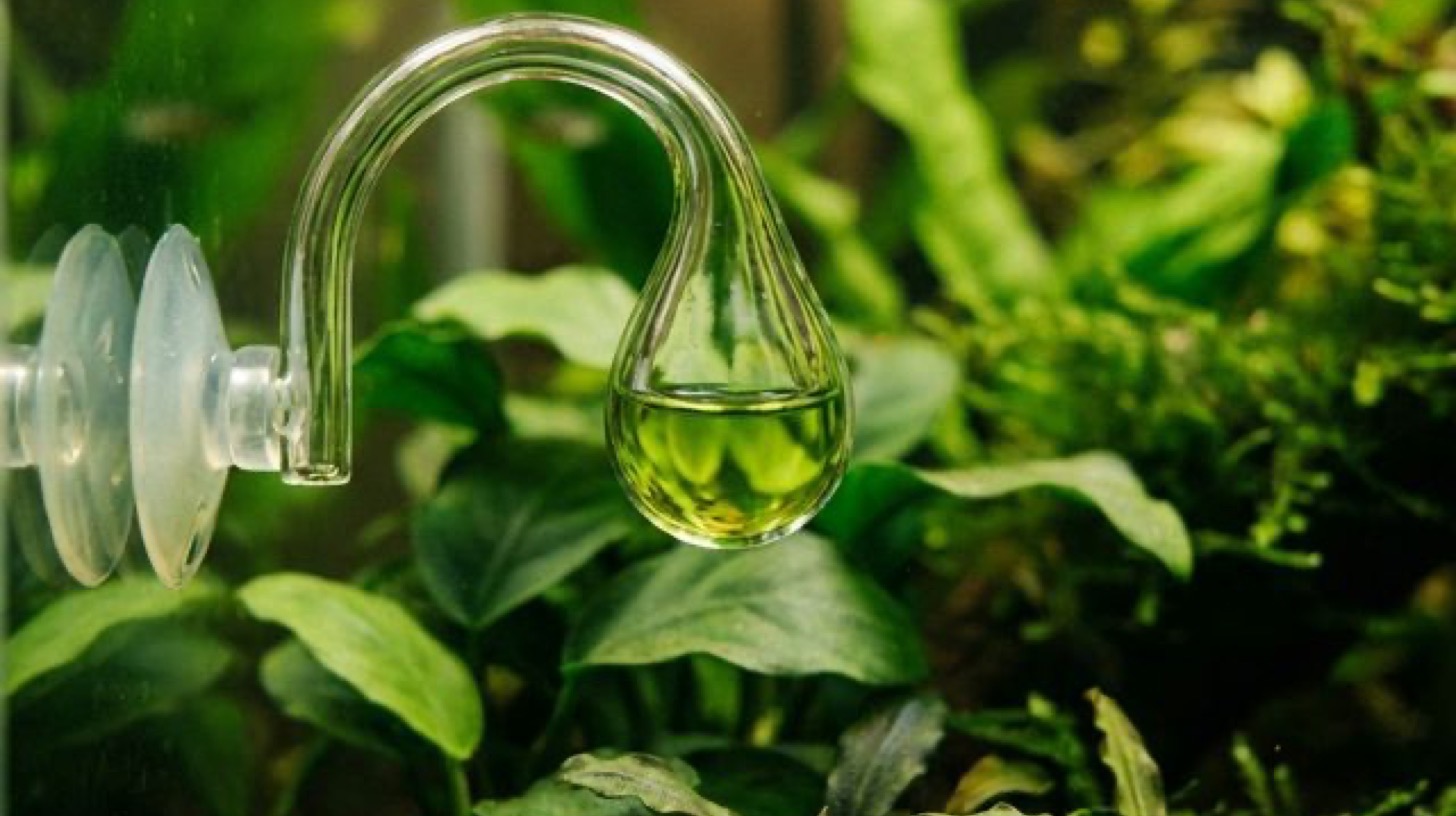 Drop checker showing correct CO2 level
Step 7: Maintenance Routine
Weekly water changes (25–50%), trim overgrown plants, remove dead leaves, and clean the glass. In high-tech tanks, stay consistent with CO2 and ferts. Test key parameters (e.g. nitrate, KH) until you know how your tank behaves. A stable routine matters more than perfect numbers.
Common Beginner Mistakes
- Skipping the cycle: Adding fish or heavy feeding before the filter is mature leads to ammonia spikes and stress.
- Too much light too soon: Long or intense lighting without enough plants or CO2 feeds algae. Start with 6 hours and increase only when growth and balance are good.
- Overfeeding: Uneaten food and excess waste fuel algae and cloudy water. Feed sparingly and remove leftovers.
- Ignoring flow: Dead spots collect debris and can favour algae. Position the filter outlet so water circulates gently around the whole tank.
- Changing too much at once: If something goes wrong, fix one variable (light, CO2, or ferts) and wait a week before changing another.
Prevention and Long-Term Success
Stability beats perfection. Keep lighting and CO2 on a timer, do regular water changes, and trim plants so they don’t shade each other or block flow. If algae appears, address cause (light, nutrients, CO2, flow) rather than only removing it. Over time, add more advanced design styles and species as your confidence grows.
FAQ
What is the easiest aquascaping style for beginners?
Nature Aquarium and simple Iwagumi-style layouts with one focal point are manageable. Use a few hardy plants and one dominant hardscape element so you can focus on basics before trying dense Dutch or jungle layouts.
Do I need CO2 for aquascaping?
No. Many beautiful aquascapes are low-tech. CO2 injection speeds growth and opens more plant options but adds cost and routine. Start without it unless you’re committed to a high-tech CO2 system.
How long until my aquascape looks good?
Low-tech tanks often need 2–3 months for plants to fill in. High-tech can look full in 4–8 weeks. Algae may appear in the first few weeks; consistent maintenance and balanced light and nutrients usually bring it under control.
Can I add fish right away?
No. Cycle the tank first (usually 4–6 weeks without fish, or 2–4 with a light bioload and bacteria). Adding fish before the filter is mature risks ammonia and nitrite spikes.
What’s the single most important habit for beginners?
Consistency: same lighting hours, same water change day, same CO2 and fert routine. Irregular care is the main cause of algae and melt in new tanks.